Monday 22 November 2010

speech bubble demo

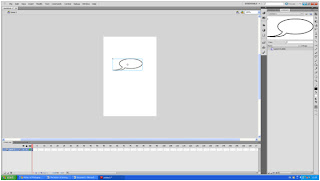
Today I did a demo on how to make speech bubbles using flash. The first step is selecting the oval tool and draw an oval on the canvas with a black outline and a white fill.


 The next step to the speech bubble is to add the tail. I did this by selecting the pen tool drawing one line off of the side of the oval and drawing another line connecting them together. 


Then i got rid of the line in-between the tail flick by clicking on large gap size and no fill.
The third step is and text and make it into a video. This is done by selecting the text tool click in the middle of the bubble and type the word them press F8 and save as bubble. If u want adjust the flick of the bubble you can do this by selecting the move tool and hover over the flick until a right angle comes up and then just click and drag.

Sunday 7 November 2010

zoom

This is a zoom shot of an image of a high street using flash. The first thing I did was to open the image in Photoshop and change the size of the image height to 900 and the resolution to 72.  


The second thing I did was to import it in to flash by going on file, import and import to stage. Once I had the image I added rulers and scaled the image down the size I want. Then I went on the timeline and hid the image, and then I selected 50 on the timeline, right clicked and selected create classic tween. Then i stretched the image and positioned the clock in the centre.


After, I pressed ctrl enter to see the image zoom in and out in a separate window.


add more on button later.

Monday 1 November 2010

zoom and pan

This is a zoom shot of an image of a high street using flash. The first thing i did was to open the image in Photoshop and change the size of the image height to 900 and the resolution to 72.  


The second thing I did was to import it in to flash by going on file, import and import to stage. Once I had the image I added rulers and scaled the image down the size I want. Then I went on the timeline and hid the image, and then I selected 50 on the timeline, right clicked and selected create classic tween. Then i stretched the image and positioned the clock in the centre.


After i pressed ctrl enter to see the image zoom in and out in a separate window.It is the same process to make a pan shot.